Card - How to fill in Onboarding
How to fill in card (Visa & Mastercard) Onboarding
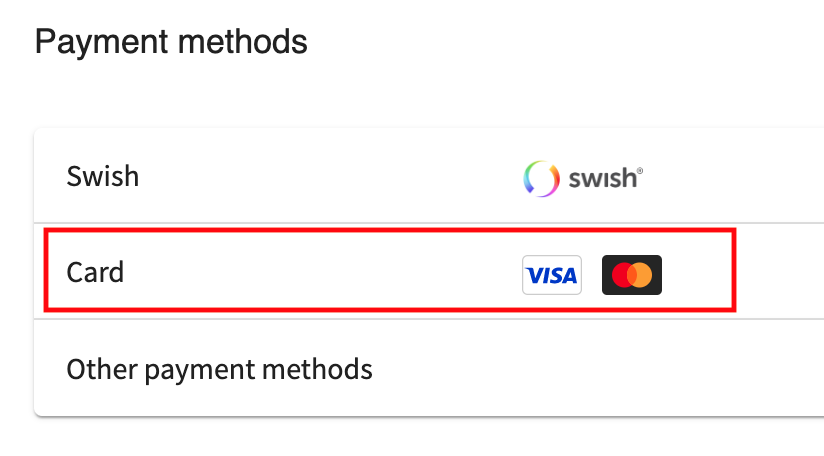
When you have created an account at Mondido and filled in your business information you will get to our Onboarding for payment methods. It looks like below and you click on the row for "Card" to be able to start filling in our Onboarding for card (Visa & Mastercard).
You will then see this and below the picture you find explanations for each step.
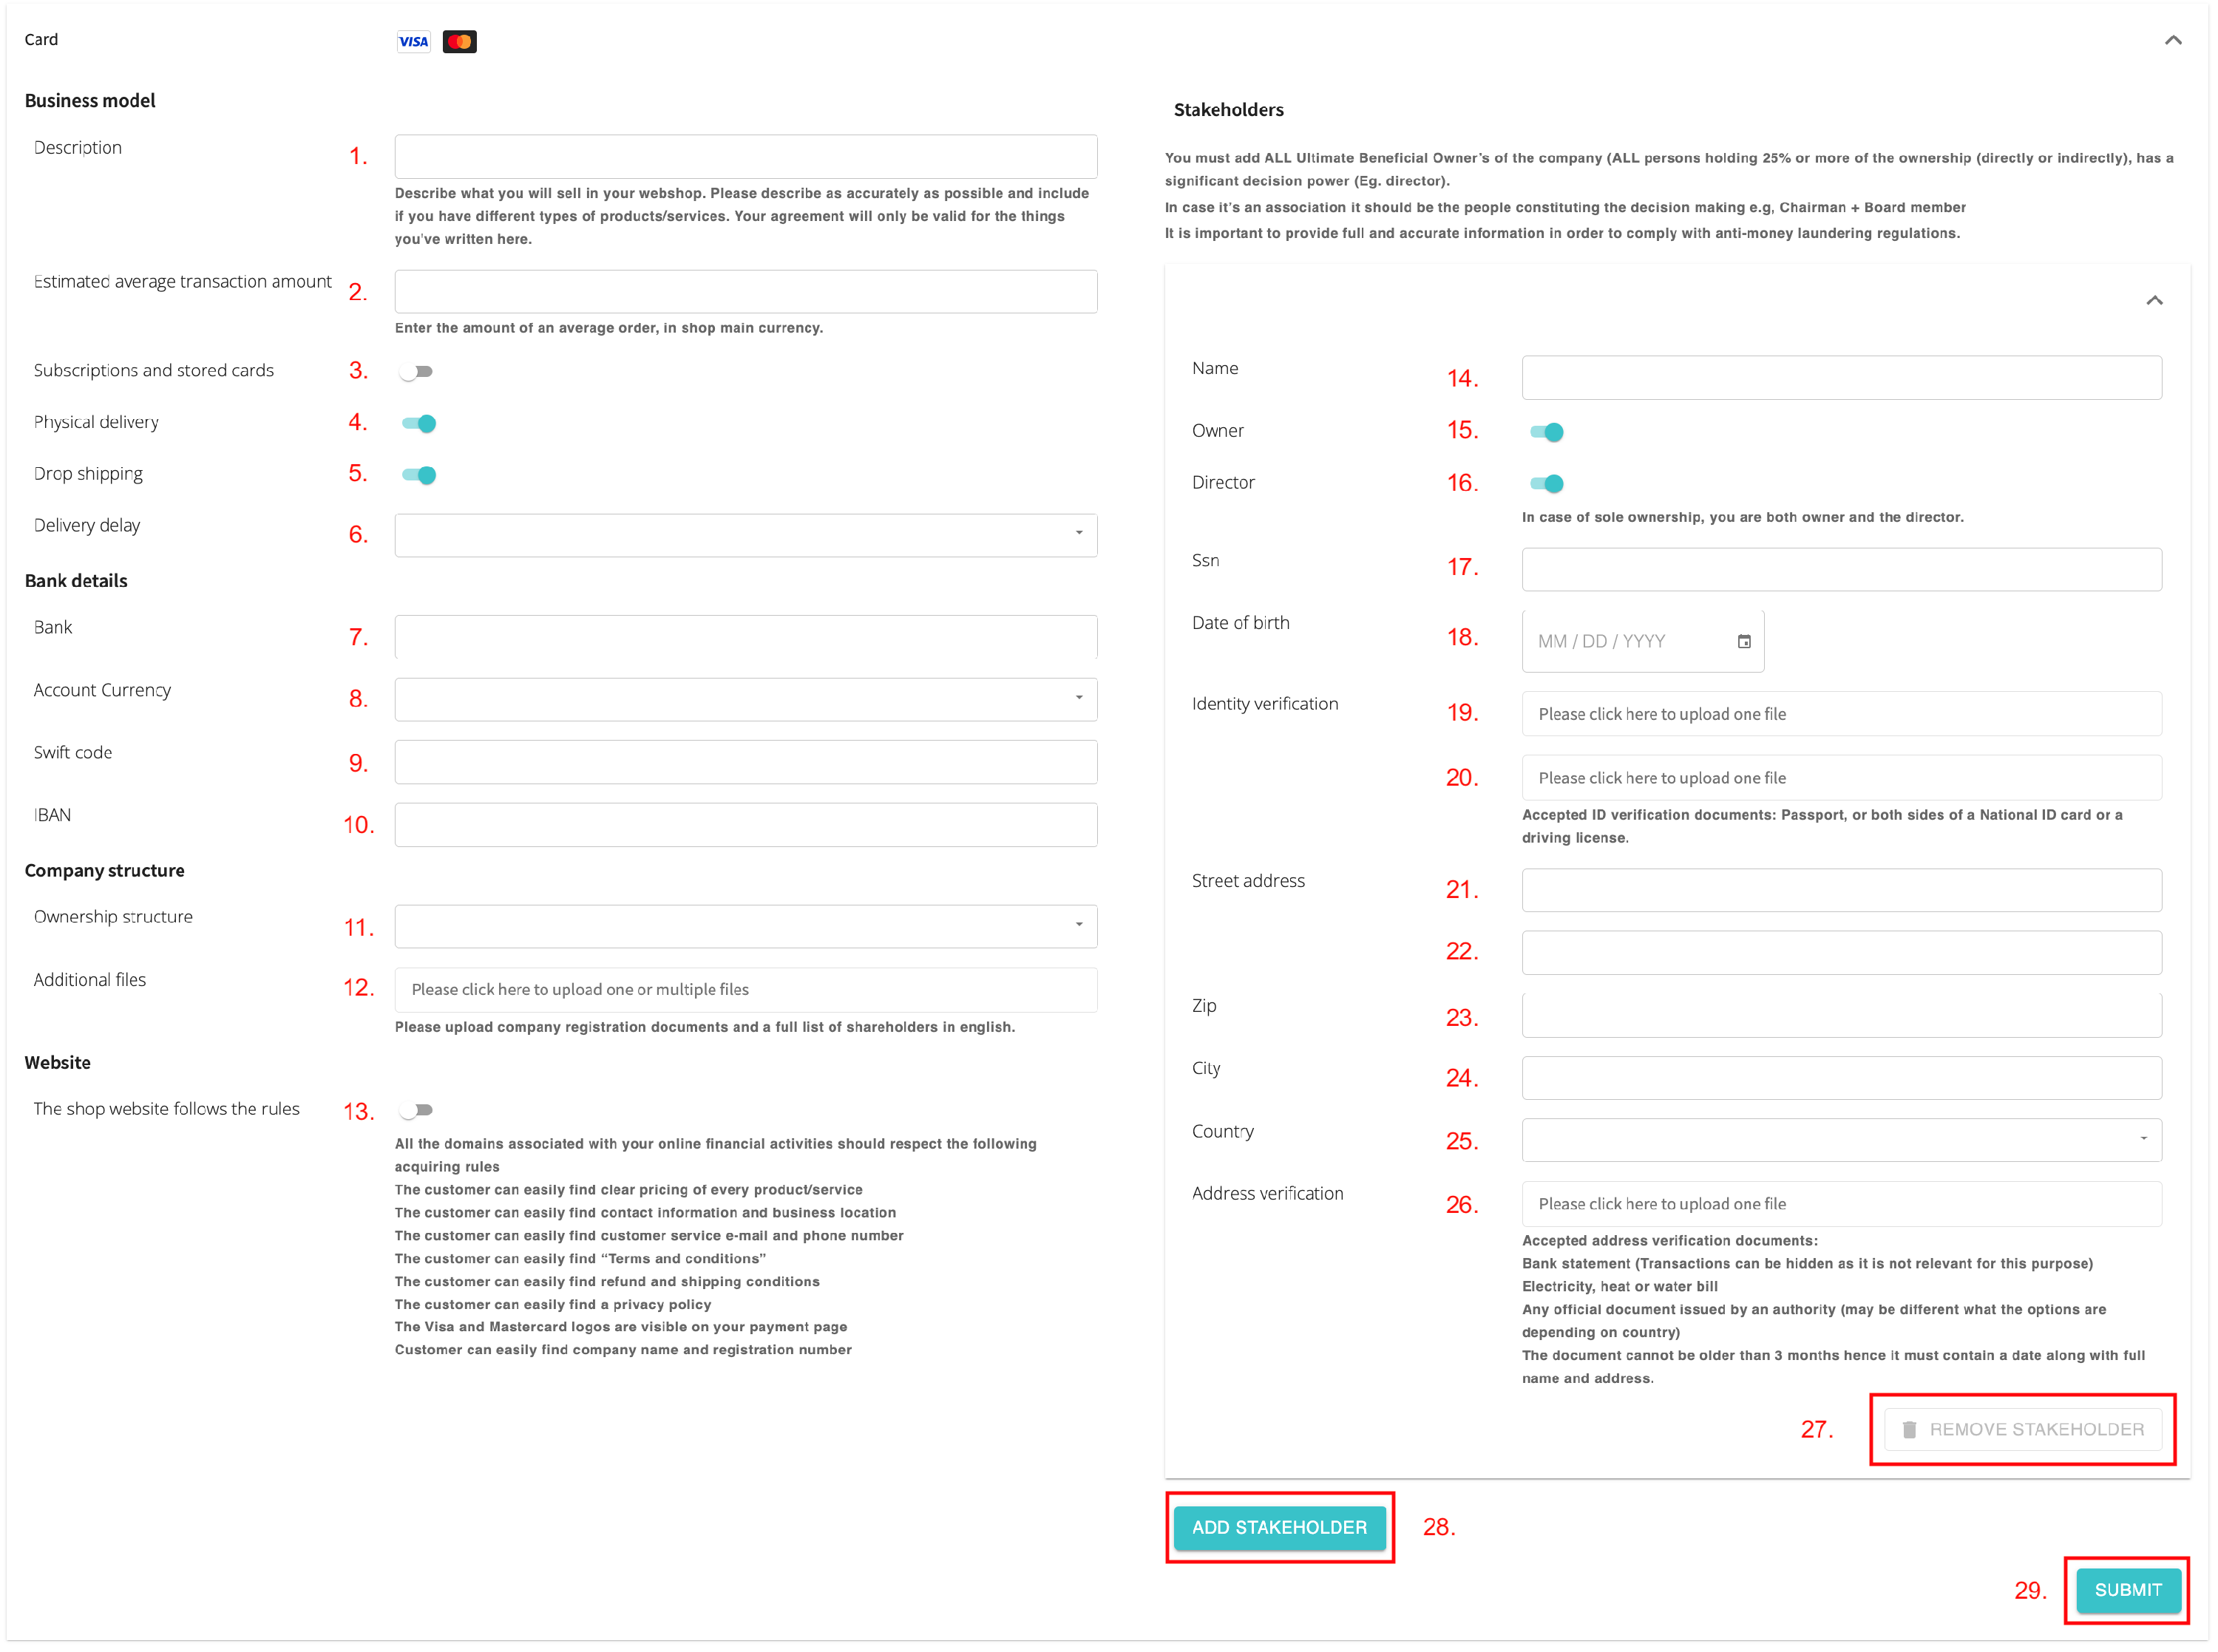
- Describe what you will sell in your webbshop. Be as accurately as possible and include if you have different types of products/services. Your agreement will only be valid for the things you have written here.
- Here you add the amount of an average order.
- Select this if you have recurring payments/subscriptions. For example: Your customers pay you an amount at regular intervals for your product.
- Select this if you deliver your products physically. For example: you sell products online and ship them or the product are collected at your shop by your customers. Example on non physically sales is if you sell a service or digital products. If you have both physical and digital products chose "Physical delivery".
- Select this if your business model is dropshipping. E.g allows you to sell products online without having to own or operate the physical location where those products are stored and processed. And you sell products without handling inventory and fulfillment.
- IF you have selected physical delivery, then you need to select the interval it will take until the products have been sent from your warehouse or the services have been fully provided. For instance, if you send 50% within 24 hours and it takes 3 additional days before you’ve sent all products, Select “Less than 5 days” here. NOTE: if you have services such as travels, courses and similar, the service only counts as delivered after the travel/course etc. is fully complete
- Write the name of your bank here.
- Select the Account currency.
- Enter IBAN here. They are usually printed on bank statements or can be found in your web bank.
- Enter Swift code here. Your bank's SWIFT (BIC) can be found in your web bank or on your bank's website. Most banks include their SWIFT code in account details, account statements and websites.
- Select the ownership structure.
- Upload a copy of document of registration for the company. Also upload a document that shows all owners in the company. Click and select a file to upload.
- Make sure that your site fulfill the requirements. When it do please set this to active.
- First name and last name of the stakeholder/stakeholders.
- Select if the person is an owner. Incase of sole ownership, you are both owner and the director.
- Select if the person is an director.
- SSN of the person. Also known as personal registration number.
- Date of birth of the person.
- Click and Choose a file to upload an ID of the person. (Accepted ID verification documents: National ID card, passport, or driving license.)
- If there is a back on your ID upload that here.
- Street address where this person is registered as a resident.
- Extra field for address if needed.
- Zip code where this person is registered as a resident.
- City/place where this person is registered as a resident.
- Country where this person is registered as a resident.
- Click and Choose a file to upload an address proof of the person. Accepted address verification documents:
Bank statement (Transactions can be hidden as it is not relevant for this purpose)
Electricity, heat or water bill
Any official document issued by an authority (may be different what the options are depending on country)
The document cannot be older than 3 months hence it must contain a date along with full name and address - If you have added an extra stakeholder by misstake you could remove that person here.
- If there are more people who own 25% or more, click on "Add stakeholder" button and add information about the next stakeholder like you just did in step 14-26.
- When you’re finished and have filled in all the information, press “Submit”.
Once you have submitted the application, it will be landed with our review team. The review is a manual process, so the handling time can vary - but our team will ensure to verify the details as quickly as possible.